You can’t open a Big Lap discussion without someone mentioning WikiCamps. If you haven’t used it before, you’re probably wondering why everyone is so obsessed with an app?
The truth is, you can always search for camps online for free. But it takes so much time to separate the ads and fake reviews from the organic info. Staged photos don’t do you justice, as well as reviews from 2014. And can you imagine doing this every few days while lapping around Australia? We didn’t think so.
Wiki Camps is no longer a well-kept secret; it’s the ultimate guide to free camps, paid RV parks, day areas, dump spots – you name it, Wiki Camps will locate it!
Using the app is easy, but some fine details can help you dig out the best of it. Stay with us to find out how to use Wiki Camps to your benefit!
Read Next: The Top Apps You’ll Need During Your Big Lap Around Australia
What’s WikiCamps?
WikiCamps is more than an app featuring camps. It’s the largest database of campgrounds, caravan parks, hostels, points of interest, and so much more. The massive popularity is mainly because the database is crowd-sourced, which means travellers like me and you can add sites, photos, and reviews. It’s affordable as well; for just $7.95, you get lifetime access to the best places to stay in the whole of Australia. Additionally, you can enjoy a two-week-long free trial if you’re unsure of the app’s claims.
The app is currently available for Australia, New Zealand, the USA, Canada, and the UK.
How to Install WikiCamps
WikiCamps is essentially a bundle of helpful camping information that fits in your pocket. It’s currently available for iOS, Android, and Microsoft. All you need to do is download the app from the App Store, Google Play or Microsoft Store. The best side of this app is that you can run it on multiple devices, as long as they use the identical operating system.
If you purchased WikiCamps on iOS, you could use it on any iOS device as long as you’re using the same Apple ID, excluding Mac Laptops. The same applies to Android and Windows purchases. Sadly, you can’t use the same purchase to run WikiCamps on your Microsoft laptop and Android phone. This is due to the different platforms being operated by different companies.
Why People Rely on WikiCamps
How did WikiCamps become the go-to app for camping around Australia? Well, it’s primarily due to the fact that travellers prefer to rely on other travellers when it comes to first-hand impressions.
With targeted marketing following us on each site, app and corner nowadays, it’s hard to get truthful information about a specific place. WikiCamps combines all the essentials a traveller needs – a map, a place to stay for all budgets and preferences, caravan upkeep like water and dump spots, daily activities, and visitor’s centres in the area. Once you like a camp, you can go on and read the reviews, check the fees and look at the condition from the photos someone already attached. Each camp is pinned on the map, so you easily find your way or enter the coordinates manually into your map.
Reviews
Each app user can leave a review about a site, and other users can support their review by liking it. If they disagree, they can dislike a review. It’s easy to get essential information about a place just by a quick scroll through the review section. For example, a campsite might look good in the photos, but if over ten users claim mozzies or sandflies attacked them, you’d probably skip that one. Or maybe the owner of that caravan park is too rude, and the toilets have been out of function for weeks. You’ll find it all in the reviews!
Photos
Every business uploads the most flattering pictures on the internet from their site, but travellers share the real deal. There isn’t a better feature than looking at the place from real photos before deciding to drive up there and spend a couple of nights. App users share the unflattering sides of the campsites, the real-time condition, allowing you to eliminate the chances of a nasty surprise.
Fees
Finding a site, typing it into Google, seeing the fee, then doing that for five more areas nearby is too much work while on the road. WikiCamps has a section, ‘Fees’, where users write how much they paid for the type of site they used. For example, you’d see that a camp nearby is half the price for a powered site for a family of four, or that another place doesn’t charge for kids under four years old, all in less than three minutes!
The Symbols, Sites, Maps and Filters
So you’ve installed WikiCamps, now, how do you manage around the app? The app is very user-oriented in order to provide you with the best experience. It features around 80 different symbols that provide a great visual experience and give you useful information. The symbols are divided into site types and site features.
The site types include campgrounds, caravan parks, backpacker hostels, day-use areas, points of interest, dump points, water facilities and informational centres.
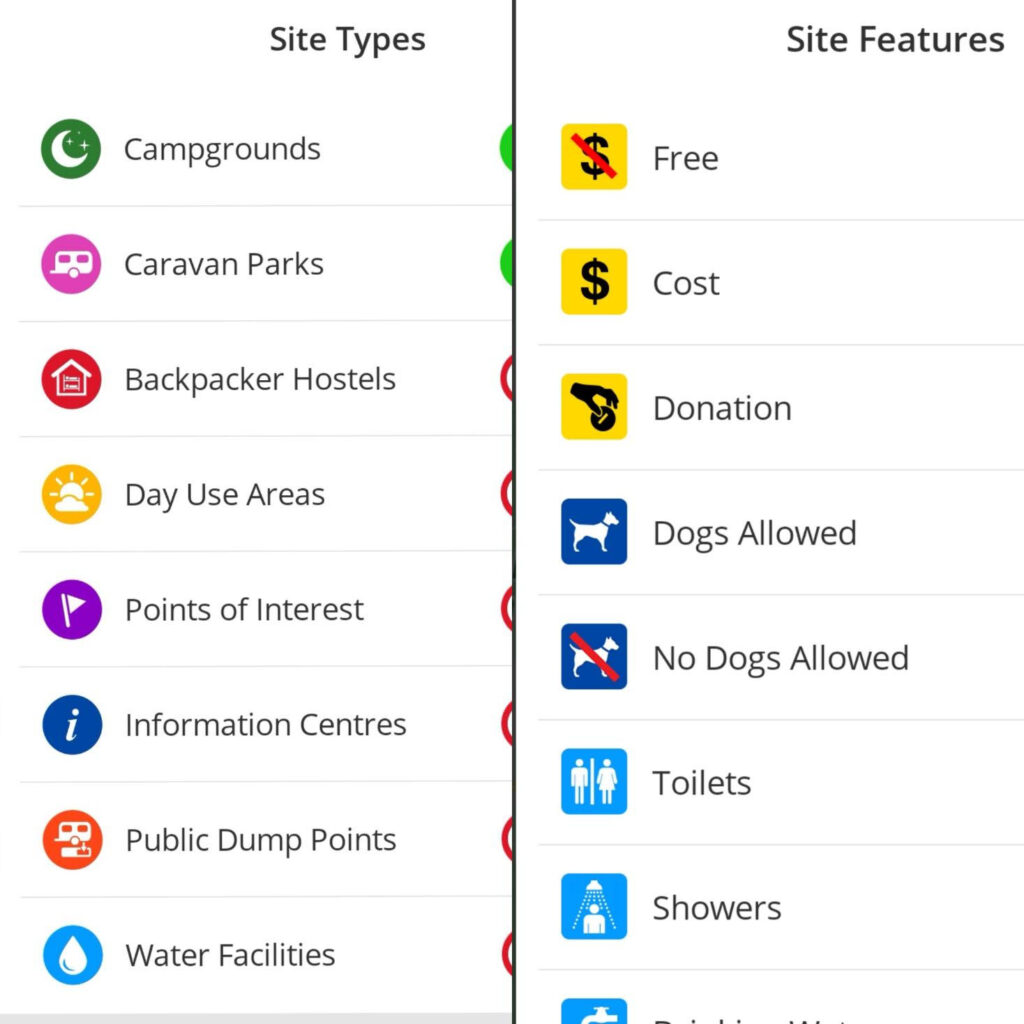
The site features is an extensive list that includes basics like toilets and drinking water, road condition, time limit, booking, pet access and much more.
Read Next: Everything You Need To Know About Free Camping In Australia
How to Use the Filters
After you go through the symbols, it’s time to set the filters to get easier access to your interests. You can switch the filters any time. For example, if you’re staying at free camps five days a week but splurge on paid caravan parks for two days, you’d switch the filter ‘Free’ to hide and the ‘Cost’ filter to show. Essentially, the filters are the sites and features you’re looking for or want to avoid.
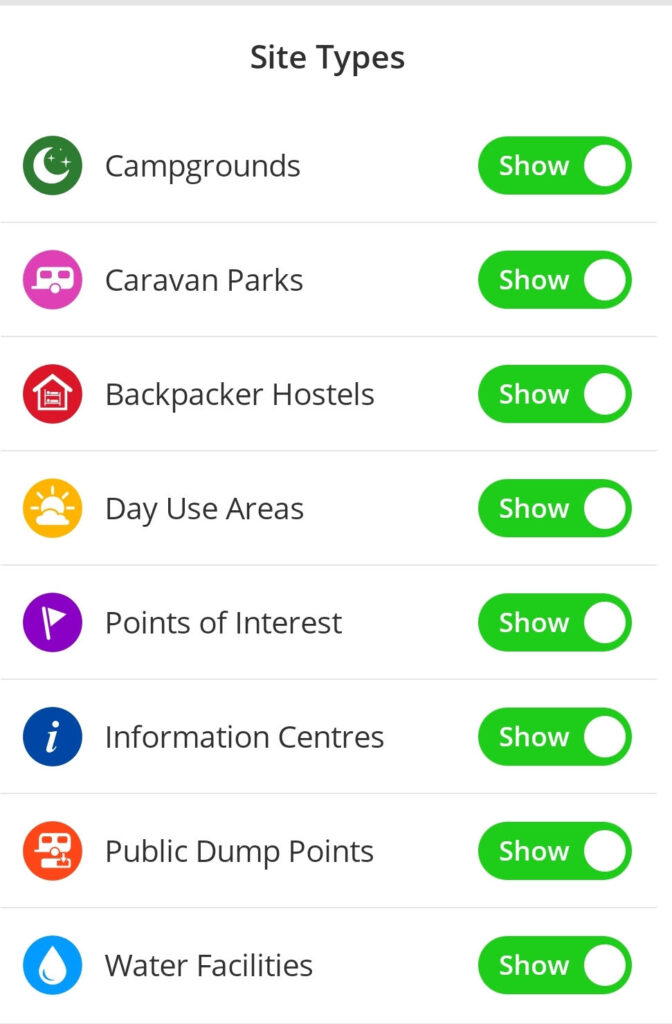
Site Types
First, start the app and go to ‘Filter’. Then slide the bar next to the site types you want to see to ‘Show’ or green. Next, slide the bar of places you don’t want to see to ‘Hide’ or red.
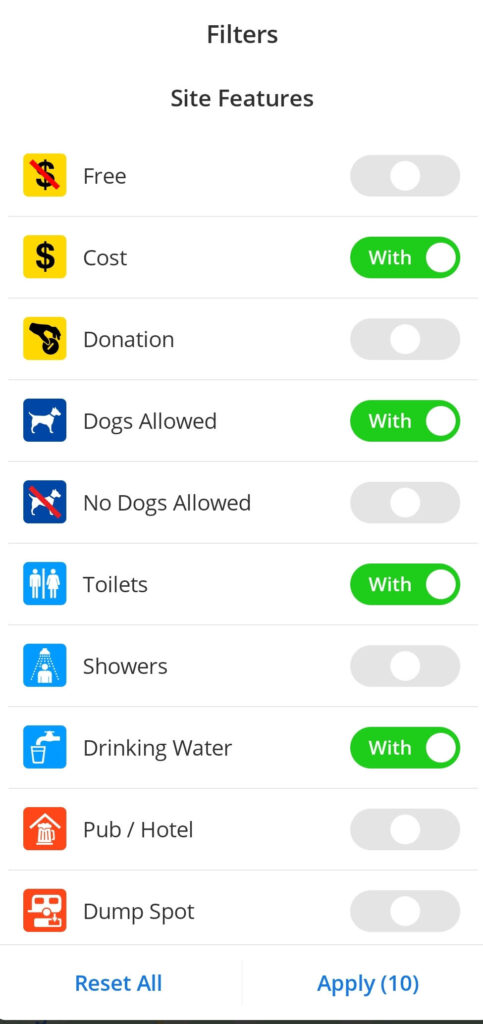
Site Features
Scroll down to the site features and choose the features you need at the place. Then, slide the bar next to the symbol to ‘Show’ or ‘Hide’. This will exclude camps that don’t have the feature you want and show only those with it. For example, if toilets are a must for you, slide the bar next to ‘Toilets’ to ‘Show’, and you’d see only campsites with toilets.
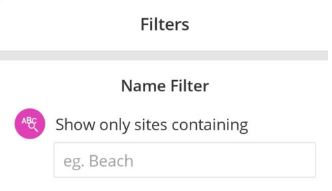
Name
Scrolling further down, you’ll find the ‘Name’ filter. If you’ve heard of a place in the area and remember only a part of the name, this filter can help you find it. Or if you have your bike with you, type in ‘Cycling Tracks’, and you’d get the places with cycling tracks that have all your other filters too.
Direction & Distance
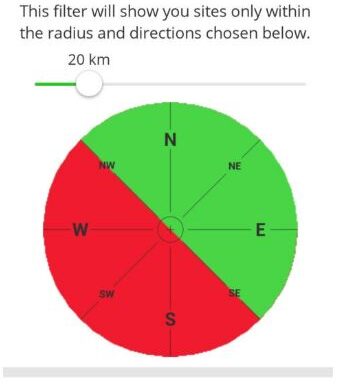
The ‘Distance’ filter shows the sites within the radius you selected. If you’re looking for a nearby place to crash for the night ASAP, set the radius to 20km, and you’d find your spot in minutes. If you’re travelling a particular route and want only camps on your way to show up, use the ‘Directions’ filter. Tap the sections of the pie chart compass to turn them on or off.
States
There’s also a ‘State’ filter to eliminate certain states from appearing in our search. If you’re currently in Queensland and want to use the search bar to look for sites, turn off all other states.
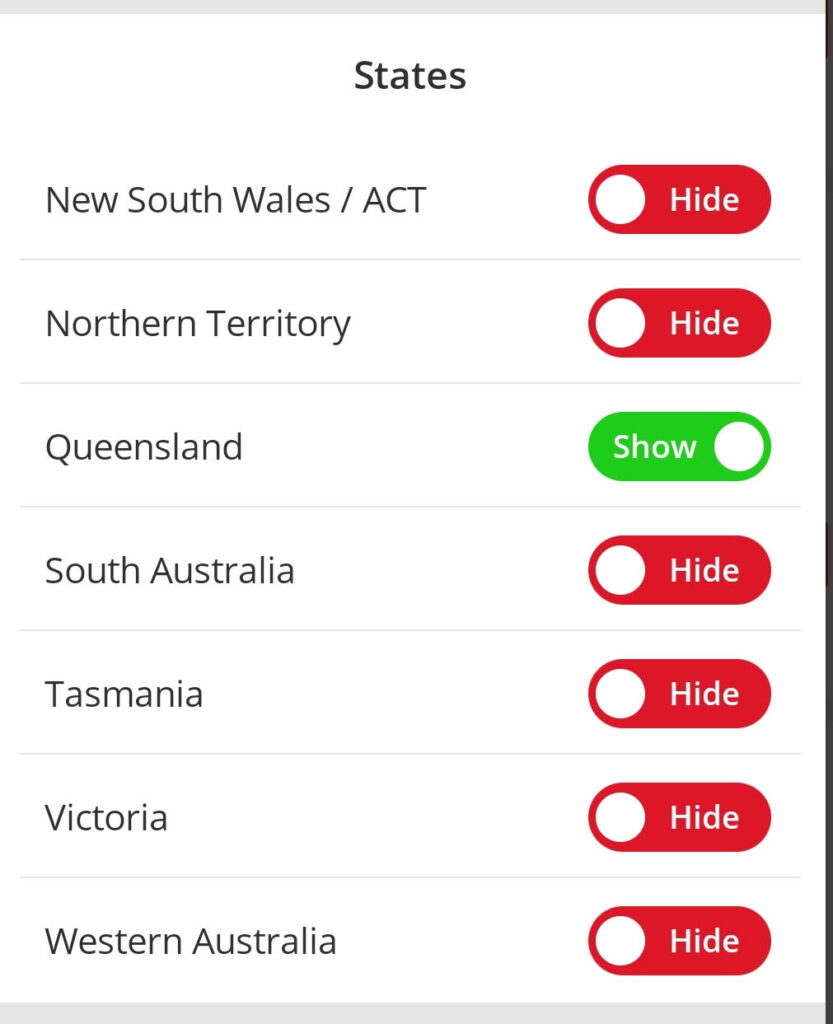
After you’ve set all your filters, press ‘Apply’ to save them.
Read Next: Caravan Parks, Free Camps, Homestays and More: Where To Stay During Your Big Lap
The WikiCamps Map
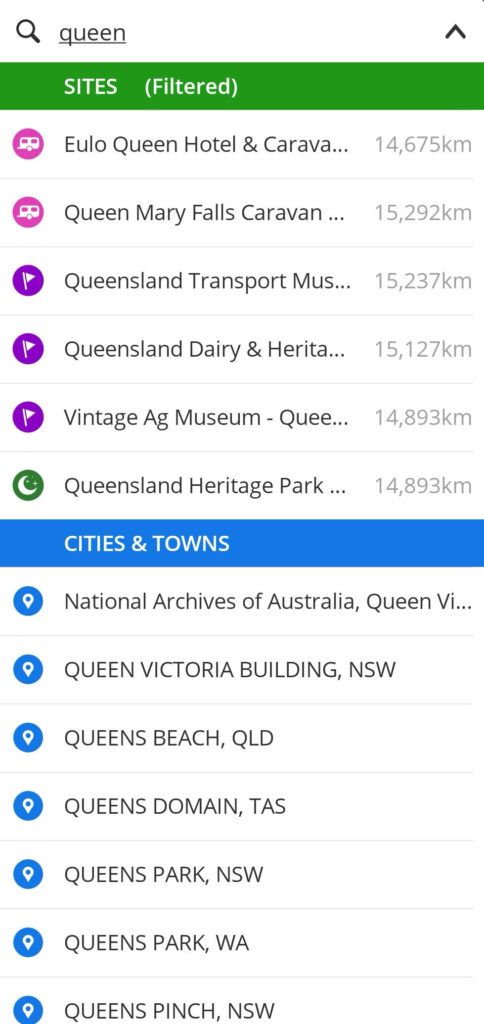
After setting your filters, get back to the map and drag it around, zoom in and out with a pinch or tap. You can use the ‘Search Bar’ to type in your preferred camp or location. As the results pop up, you’d see they’re divided into two; ‘Sites’ and ‘Cities & Towns’.
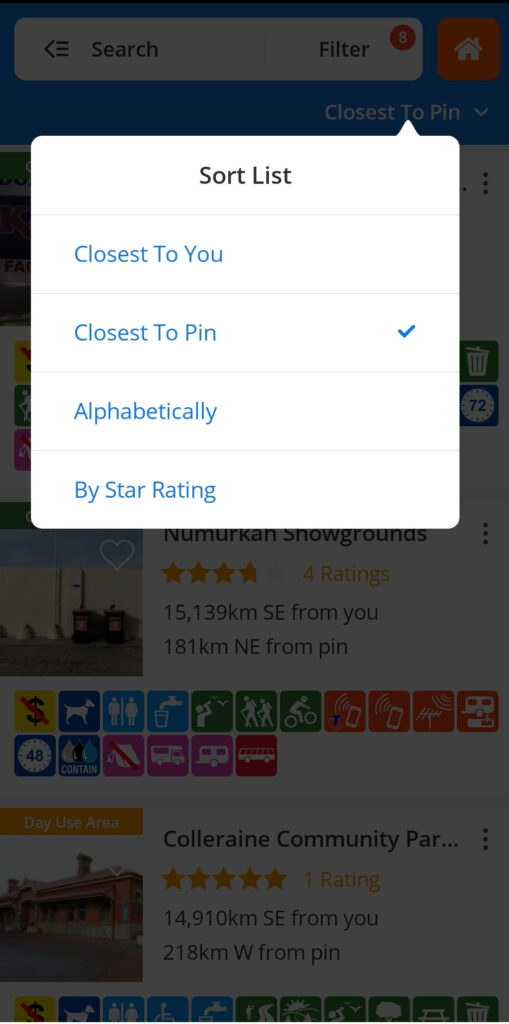
Another way to search for camps in the area is via the list located in the top left corner. You can arrange the list alphabetically, closest to you or the pin, or by rating.
Exploring Sites
Once you open a place, you’ll see the ‘Details’ tab. This page includes the essential information, address, phone number, website, star rating, features, facilities, weather forecast for the area, and a short description of the place. In addition, you have an ‘Edit’ button for suggesting changes, ‘History’ to see what changes have been made and ‘Report’.
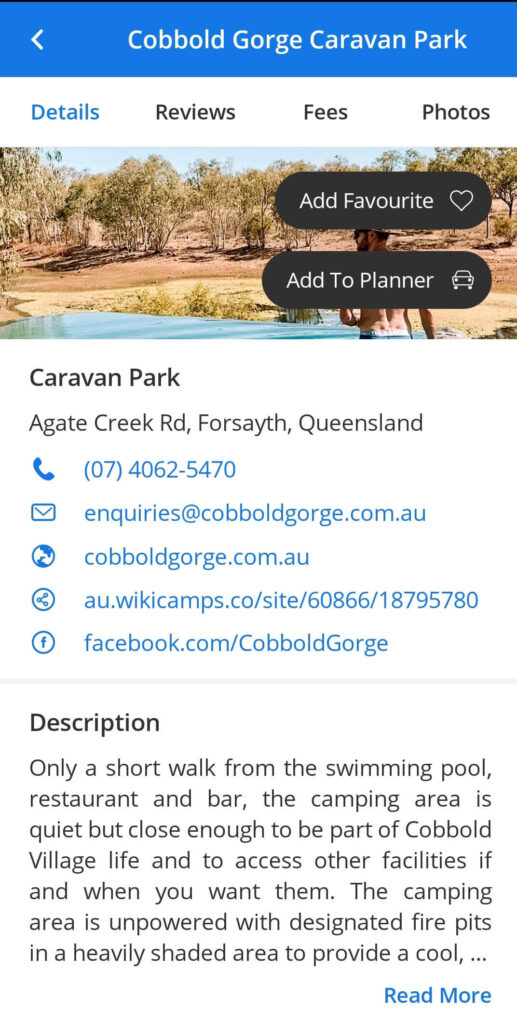
Now you can scroll through the ‘Reviews’, ‘Fees’, and ‘Photos’ sections to get a better idea of the place. Then, if you like it, you can add it to ‘Favourites’ by pressing the heart button or ‘Add To Planner’ by pressing the car button.
Additional Features
WikiCamps doesn’t lack features. Pressing the home button, you’d see the ‘Trip Planner’ section. Here, you can create a trip and share it with the public. You can sign in to the ‘Chat Forum’ and discuss with fellow travellers. There’s a ‘Compass’, a ‘Satellite Dish Pointer’, ‘Checklist’, and an option to add your own place.
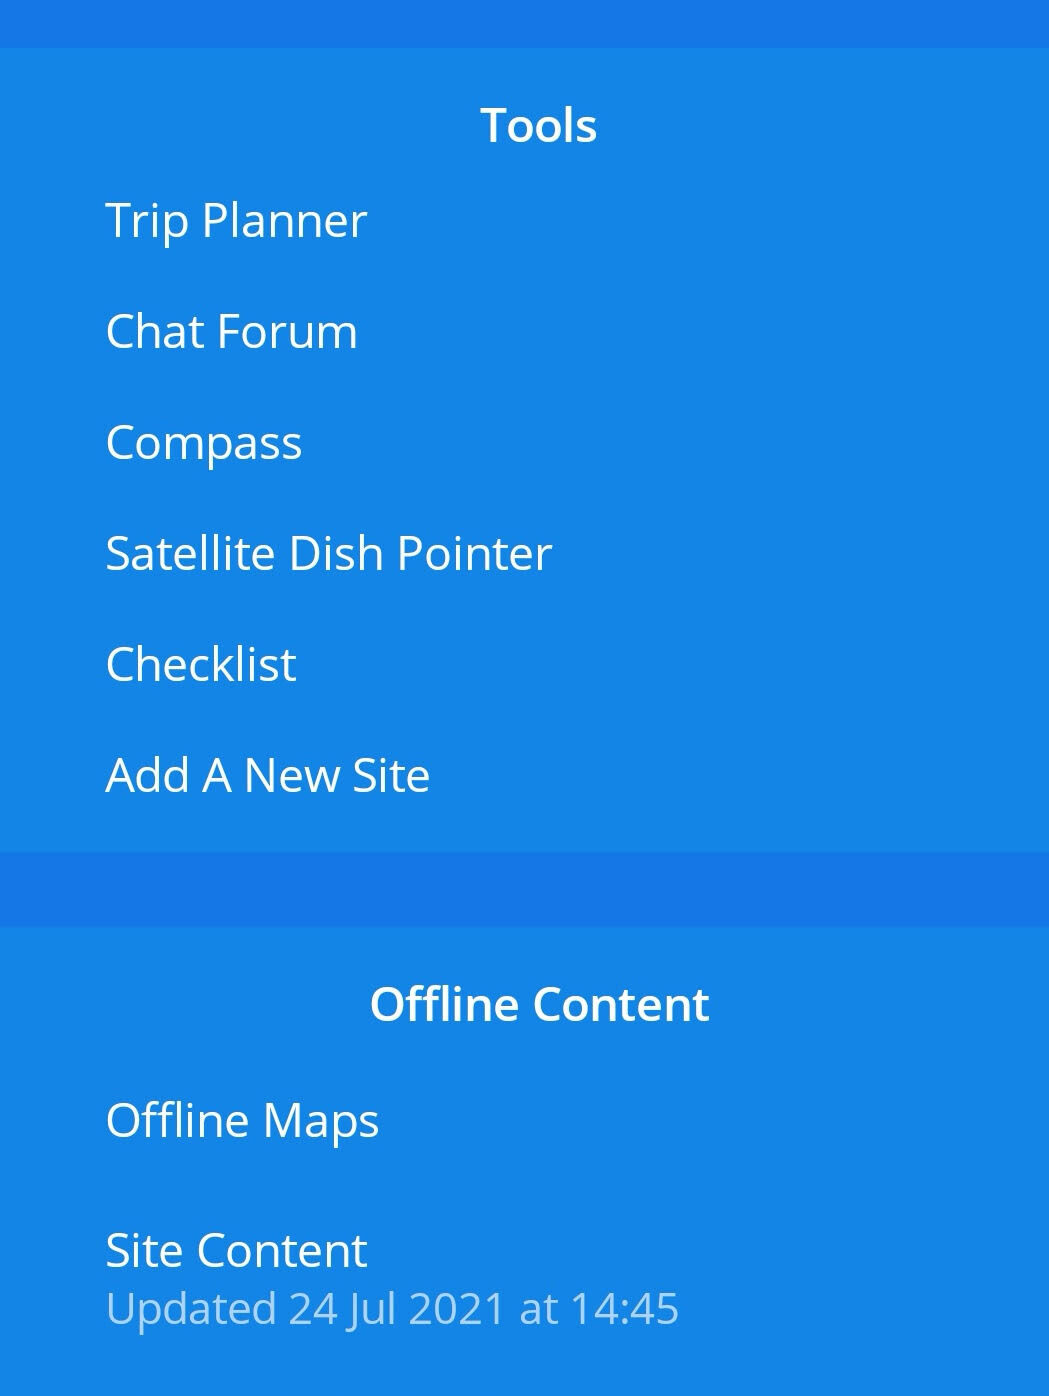
To use WikiCamps offline, you need to download the offline maps. Then, to download the user content, select ‘Site Content’ from the ‘Offline Content’ box and select the states you want content for. When you go back to the map, select offline in the map options, and you’re good to go even without WiFi and coverage!
Read Next: 96 Things To Know About Your Big Lap


